The Evolution Of Stair Tread Installation
The first rubber stair treads, as we know them today, came out in the 1960’s and covered the complete tread including the front edge called the nosing. True time-tested methods of cutting and fitting included 3 wall and pattern scribing. These methods were time consuming to learn and required the highest degree of technique & craftsmanship that had to be mastered in order to produce consistently pleasing results.
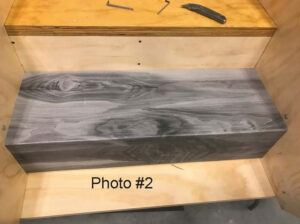
Fast forward a few years and much more challenging profiles began to emerge. Included are the “one piece step up riser” treads and newest to the market an LVT product branded as “Six Degrees” manufactured by Roppe Holding Company, which features a preformed “one piece step down riser” profile.
What the industry needed now was a standardized tool that could be set up fast and accurately by tradesmen of all skill levels. In 2011, ProKnee Corporation combined the mechanical features of a stair tread jig with pattern scribing templates and called it Treadman® Multi-Angle Stair Tread Cutting System.
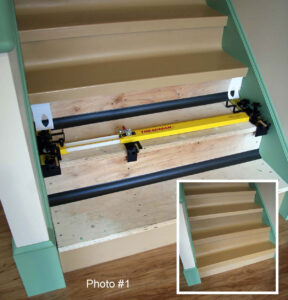
Fitting a one piece step up riser tread requires a 1 Piece Step/Riser Template Kit, shown in Photo #1. Complete video instructions can be viewed on YouTube.
The preferred method, using Treadman 1 Piece Step/Riser Template Kit, is best described in Roppe’s “LVT Six Degrees Tread Instructions” available through solutions@rhtechnical.com.
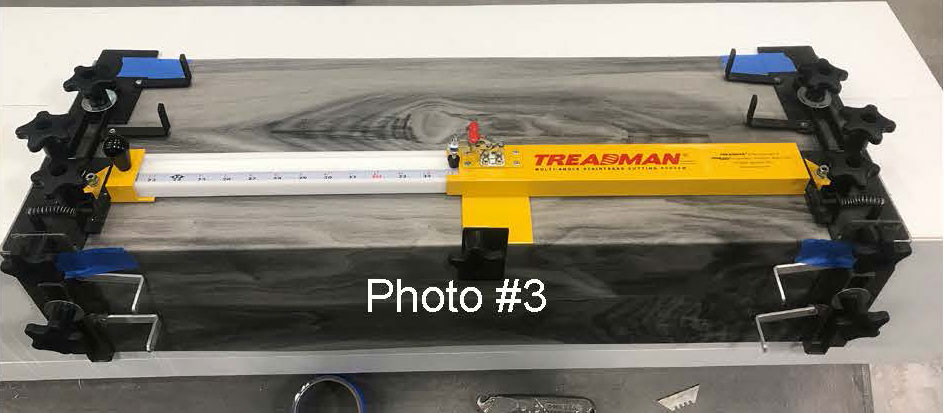
Option 2, shown in Photo #3 & #4, uses the Step Down Riser Plate Kit (latest addition to Treadman Lineup) which allows users to capture angles of the riser using adjustable steel plates.
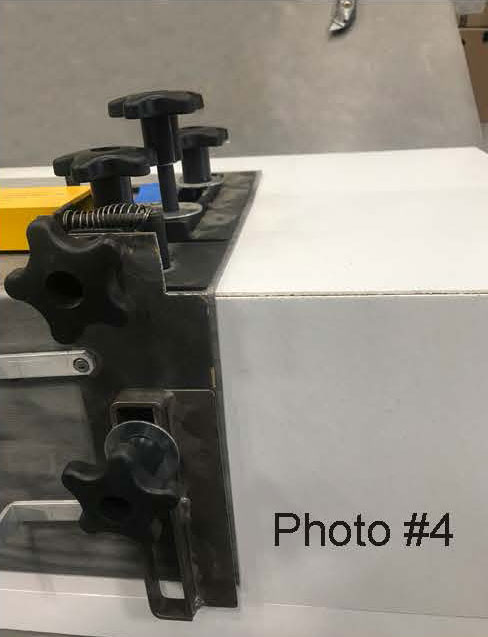
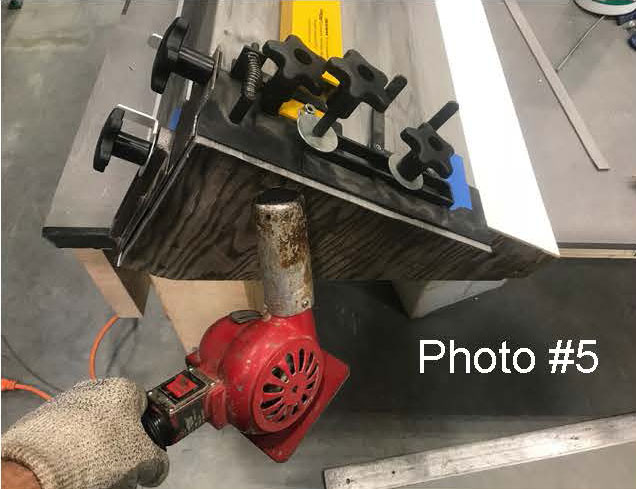
Photo #5 shows LVT preformed tread, on a site fabricated cutting block, being heated from below so cutting becomes quicker, using less effort.
One thing you can be sure of, as stair tread products evolve, installation methods and techniques will too!